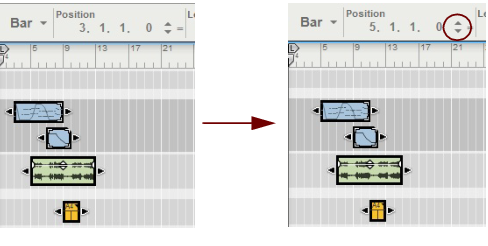
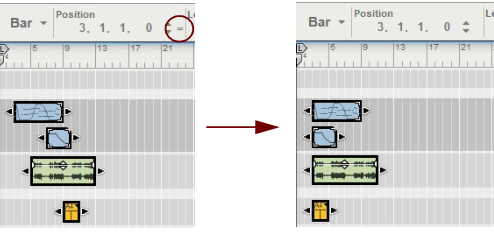
The clip Position display shows at what position in the song the clip begins. The display readout is divided into Bar, Beat, 1/16 Note and Ticks (1/16th note=240 Ticks). The position can be edited according to the descriptions in “Moving clips using the Inspector”.
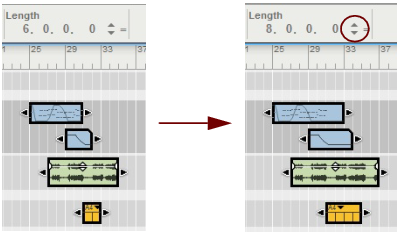
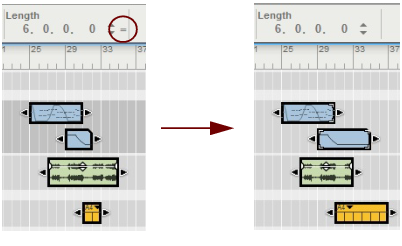
The clip Length display shows the length of the clip. The display readout is divided into (from left to right) Bar, Beat, 1/16 Note and Ticks. The length can be edited according to the descriptions in “Resizing clips using the Arrange Area Inspector”.
The Fade In and Fade Out displays for selected audio clips show the Fade In and Fade Out times for the audio in the clip. The readout is divided into 1/16 Note and Ticks. The Fade times can be edited as described in “Inspector segment displays”.
The Level display for selected audio clips shows the level of the audio in the clip. The readout is divided into dB and 1/100 dB. The level can be edited as described in “Inspector segment displays”.
The Transpose display shows the transposition of the audio recordings in the selected Audio Clip(s) - relative to the original pitch. The display readout is divided into (from left to right) Semitones and Cents, See “Transposing Audio Clips”.
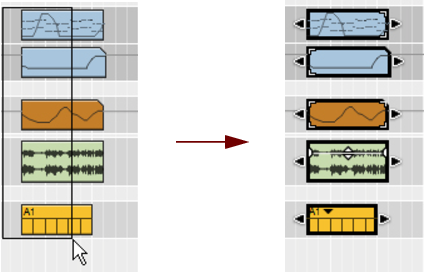
In Song View, several clips can be selected, e.g. for cutting, copying, pasting, deleting, moving and resizing purposes. If you select multiple note clips, these can be opened for Multi Lanes editing, see “Multi Lanes editing”.
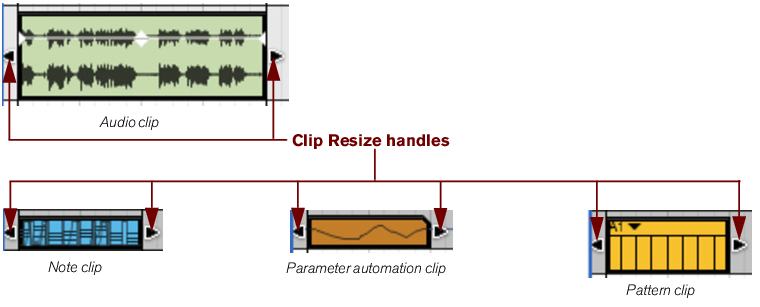
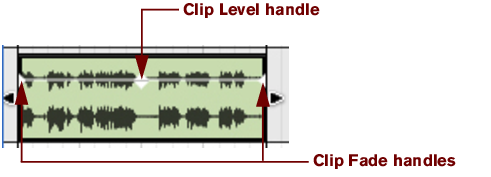
Besides the Clip Resize handles, a selected audio clip also has Fade In and Fade Out handles plus a Clip Level handle. These can be edited at any time, either by using the handles as described below, or using the Inspector as described in “Fade In and Fade Out displays (audio clips only)” and “Level display (audio clips only)”:
The Fade settings can be set individually for each audio clip in the song. The fading is non-destructive and can be changed at any time. If Snap is activated (see “Snap”), the set Snap value is taken into account when setting the fade time(s).
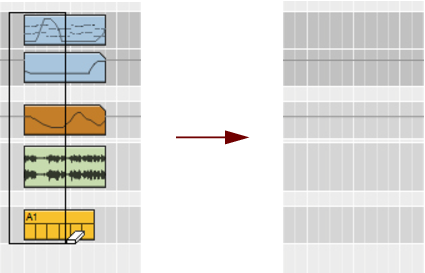
You can also draw selection rectangles with the Selection tool, encompassing several clips and delete them all at once. The same rules apply as when selecting clips (see “Selecting clips”).
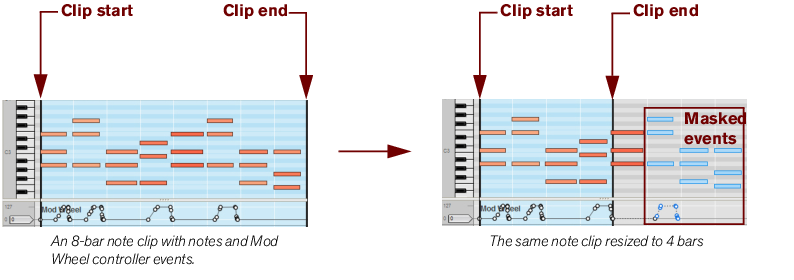
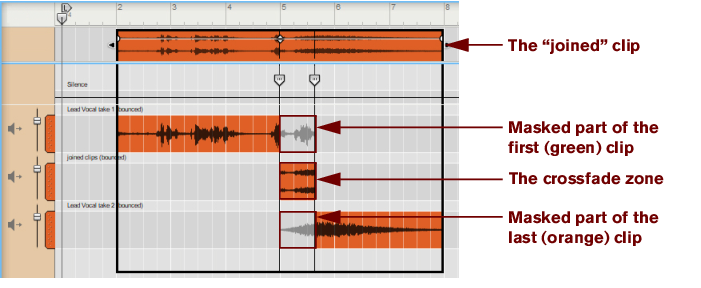
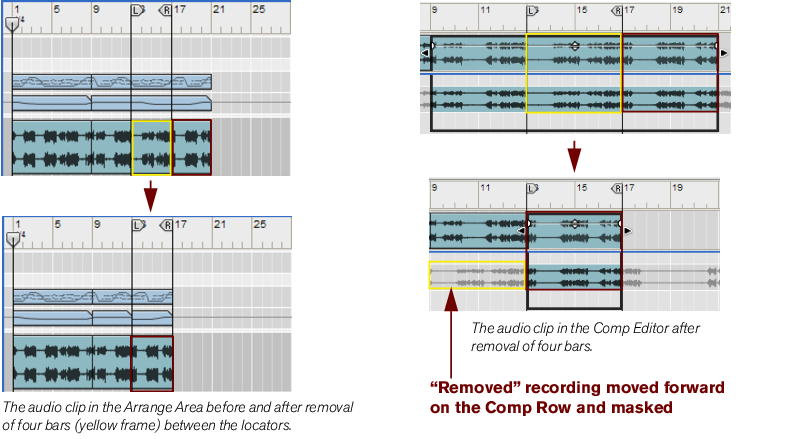
If you resize a clip and make it smaller, any recordings or events that now lie outside the clip boundaries will not sound, or have any effect, when played back. However, they are not deleted - just masked. If you make the clip larger again, the recordings or events that were masked will become visible and will play back again. See “About masked recordings and events”.
|
|
See “Inspector segment displays” for more details on how to edit in the Inspector displays.
|
|
•
|
Masked performance controller events, parameter automation events and pattern automation events will be inactive - but could still affect the masked clip (see “About masked performance controllers and automation events” below). Outside a masked clip, the controller/parameter/pattern values will default to their Static Values in the masked area (see “Static Value handle”).
|
|
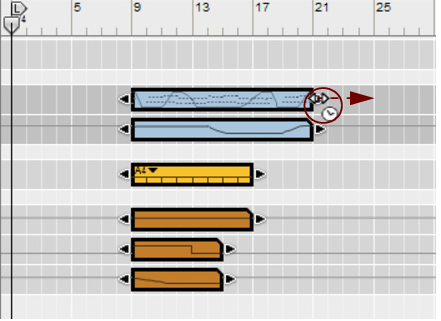
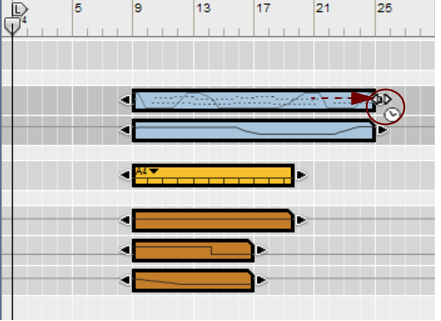
Below, we will describe how to use the “scale tempo” tool to manually stretch clips. The Scale Tempo function on the clip context menu is explained in “Scale Tempo” in the “Note and Automation Editing” chapter.
For more details about tempo scaling audio clips, refer to “Tempo scaling Clips” in the “Audio Editing in the Sequencer” chapter.
It’s also possible to select and move several clips by dragging and dropping them at the desired destination. If the Snap function is selected (see “Snap”), you will only be able to move the clip(s) in steps of the selected Snap value - or to absolute positions on the grid, depending on the Snap settings.
|
|
|
|
|
•
|
The set Snap value is taken in to account if the function is activated (see “Snap”). It’s also possible to move several selected clips in one go.
|
|
|
•
|
If you have recorded non-standard controller parameters for a device in the note clip using the “Record Automation into Note Clip” option (see “Recording parameter automation into Note Clips”) some automated parameters may not have an equivalent parameter in the target device.
|
Any lane can only play back a single clip at a time - if you want to mix two clips, put them on separate lanes (note clips) or on separate tracks (audio clips). See “Adding note lanes” and “Duplicating/copying tracks and devices”.
|
|
|
•
|
|
2.
|
Activate Snap (see “Snap”) and set the Snap value to “Bar” (or to the length of the section you want to repeat).
|
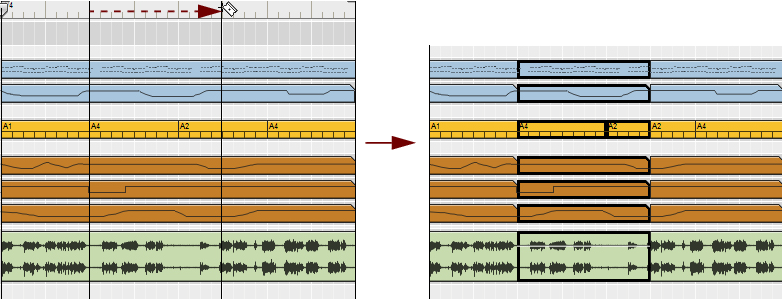
On the Razor Tool’s left edge is a cross-hair which indicates where the split will take place. If activated, the Snap setting is taken into account (see “Snap”).
|
|
|
4.
|
It’s also possible to reverse clips, i.e. play the content of the clip “backwards” (from the end to the start). This works a little differently for audio clips and note clips. Please refer to “Reverse” for information about reversing note and automation clips, and to “Reversing audio clips” for information about reversing audio clips.
|
|
|
•
|
for creating audio clips that you could use as samples in any sample player device (see “Bounce Clip(s) to New Sample(s)”) or as REX loops in the Dr Octo Rex (see “Bounce Clip to REX Loop”).
|
|
|
|
•
|
