This chapter describes how to edit audio clips after you have recorded them in the sequencer. General sequencer functions, recording, note and automation editing, and arranging in the sequencer are described in detail in the chapters “Sequencer Functions”, “Recording in the Sequencer”, “Note and Automation Editing” and “Arranging in the Sequencer”.
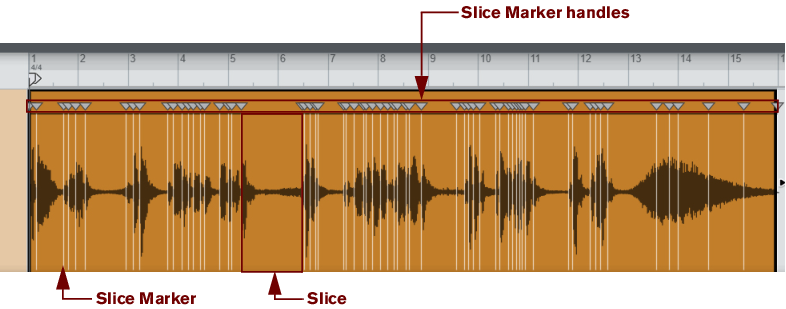
Slice editing can be made on Single Take clips (see “Clip Types” below). Slice editing allows you to adjust the positions (timing) of the automatically detected and distributed transient slice markers that appear in the audio clip. The timing can be adjusted by moving and stretching (warping) the audio slices. See “Editing audio in Slice Edit mode”.
|
•
|
In Comp Edit mode you can cut out segments of several Takes (recordings) and compile into a final clip. Here you can also insert silence segments to e.g. remove noise from silent parts in your audio clips. See “Editing audio in the Comp Editor”.
The formants are preserved and are not transposed along with the audio. This will keep the original character of the vocal and will only affect the pitch. “Vocal” is also the default Stretch and Transpose Type for editing audio in Vocal Edit mode, see “Editing audio in Vocal Edit mode”.
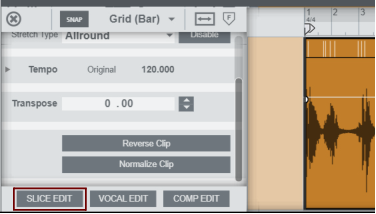
Single Take clips can be edited in any of the three edit modes Slice Edit, Vocal Edit and Comp Edit.
|
|
|
|
|
|
|
|
|
|
|
•
|
If more than one Slice Marker has been selected, a Slice Group Handle appears below the waveform. You could then click and drag the Slice Group Handle sideways to move all selected Slice Markers as a group, see “Moving several Slice Markers”.
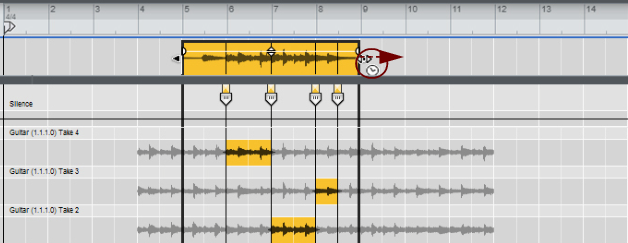
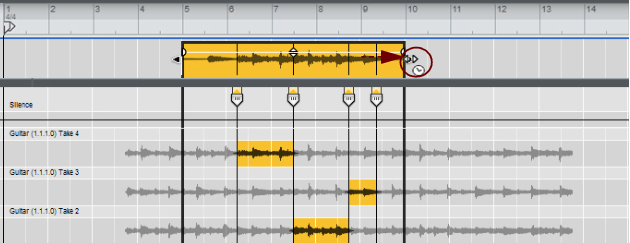
The range of Slice Markers can then be moved as a group by clicking and dragging the Slice Group Handle sideways. You can also stretch the range in an “accordion style” fashion by clicking and dragging any of the selected Slice Marker Handles in the range, see “Stretching a range of Slices”.
Now, you can move all Slice Markers as a group by dragging the Slice Group Handle sideways (see “Moving several Slice Markers”), or stretch the entire range of Slices (see “Stretching a range of Slices”).
|
|
If you are not satisfied with the position of the Slice Marker, you can reposition it afterwards, see “Repositioning Slice Markers”.
|
|
|
|
|
|
|
•
|
It’s also possible to move a range of Slices by selecting a range of Slice Markers as described in “Selecting Slices and Slice Markers” and then dragging the Slice Group Handle sideways.
|
|
|
|
|
|
|
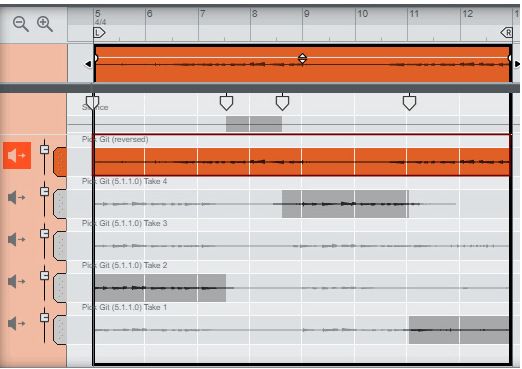
If you like, you can now select the desired clip(s) and move, reverse (see “Reversing audio clips”) or choose to bounce the clip(s) to samples (see “Bounce Clip(s) to New Sample(s)”).
|
|
|
|
Refer to the “Dr. Octo Rex Loop Player” chapter for information on how to work with REX Loops in the Dr Octo Rex device.
|
|
|
If you want to load your REX Loop in another sampler device, you first have to un-self-contain the REX file, see ““Un-self-containing” a Song”. Then, create the sampler device and load the un-self-contained REX file from disk.
|
|
3.
|
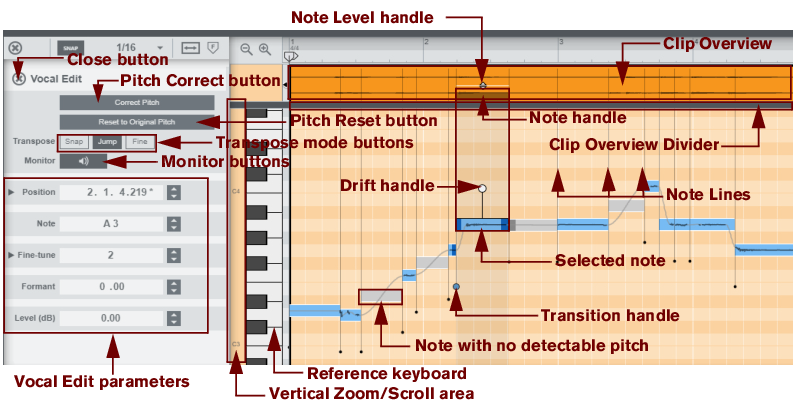
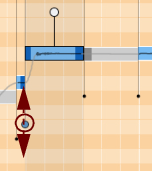
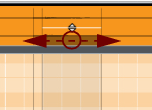
Hold this and move sideways to move the note back or forth in time. The range is limited by the adjacent notes, which are indicated by the Note Lines, see “Moving notes and changing note lengths”.
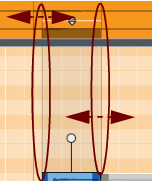
These indicate where the notes start and end. You can adjust the start/end positions by click-holding a Note Line and dragging it sideways. Changing the position(s) and/or length(s) will also automatically stretch the note(s). See “Moving notes and changing note lengths”.
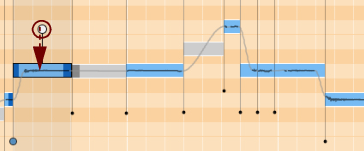
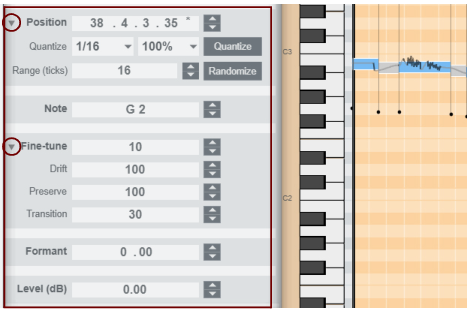
The Drift handle appears when you select the note(s). Drag the Drift handle downwards to reduce the amount of any natural pitch drift/vibrato present in the selected note(s), see “Attenuating pitch drift/vibrato”.
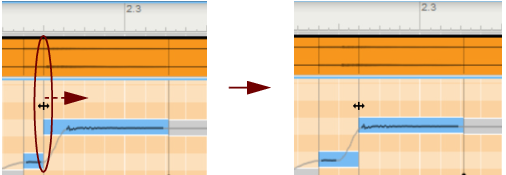
The Transition handle(s) control the pitch transition times between the selected note(s) and the previous adjacent note(s), see “Editing transition times”.
This is a three-way switch that determines what happens when you drag notes up/down on the note pane:
Snap = the notes snap to absolute semitones.
Jump (default) = the notes snap relative to their original pitches, i.e. moves in semitone steps but preserves any fine tuning.
Fine = the notes can be transposed freely, in cents.
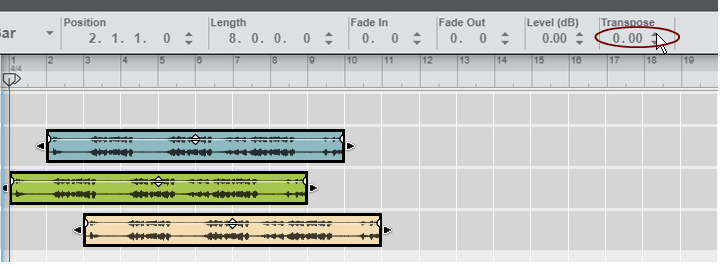
See “Changing transposition” for more details about transposing notes.
Snap = the notes snap to absolute semitones.
Jump (default) = the notes snap relative to their original pitches, i.e. moves in semitone steps but preserves any fine tuning.
Fine = the notes can be transposed freely, in cents.
See “Changing transposition” for more details about transposing notes.
|
|
|
|
|
|
|
|
|
|
|
2.
|
Similar to when editing in Slice Edit mode it’s possible to “decouple” the notes from the actual audio in the note. This can be useful if the automatic note placement wasn’t perfect and you have a hard time adjusting the transition times between transposed notes (see “Editing transition times”).
Quantizing notes in Vocal Edit mode works just like when quantizing in Slice Edit mode, see “Quantizing audio”.
Randomizing note starts in Vocal Edit mode works just like when randomizing in Slice Edit mode, see “Quantizing audio”.
#Note
For more information about formants, please have a look at “What are formants?” in the Neptune Pitch Adjuster and Voice Synth chapter.
In this section we will describe audio editing procedures that are common for Single Take clips and Comp clips when edited in the Comp Editor. Comp clip specific procedures are described in “Comping audio”.
|
•
|
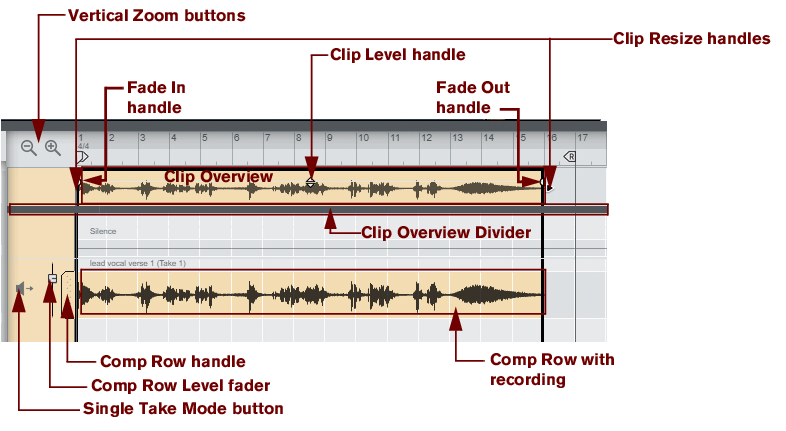
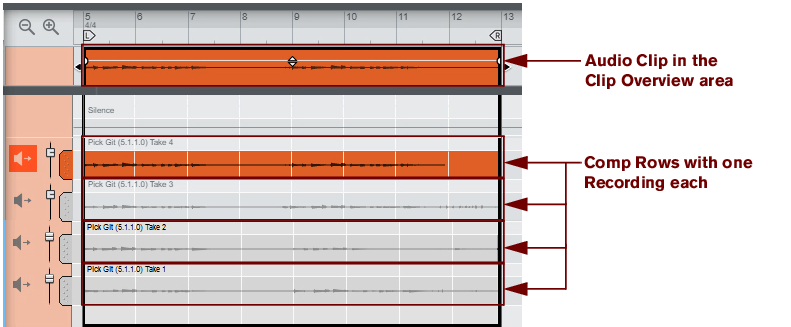
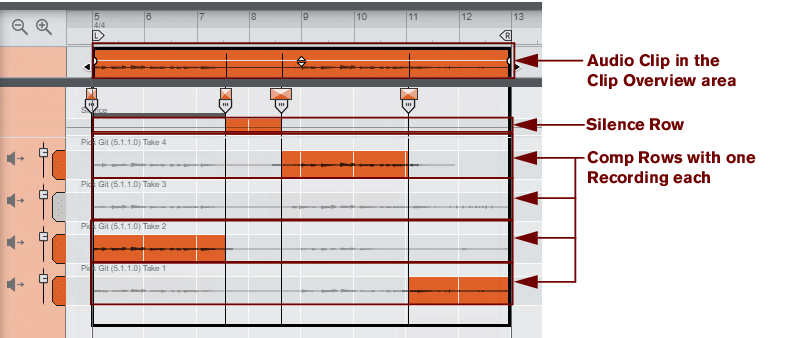
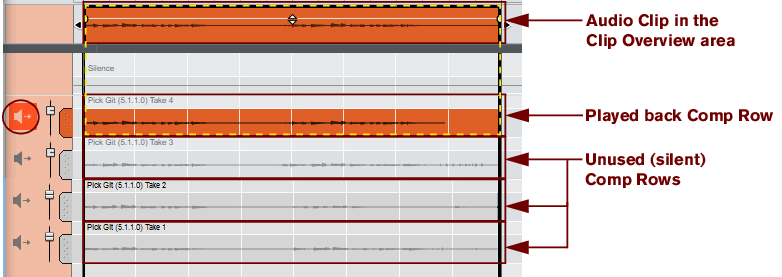
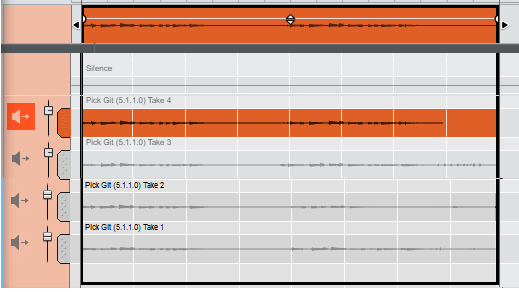
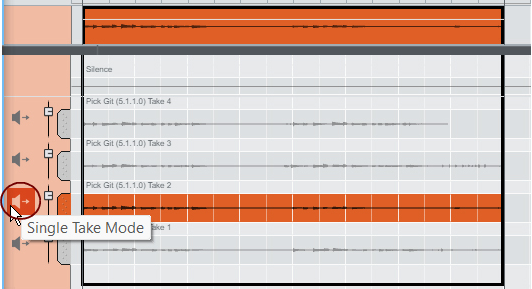
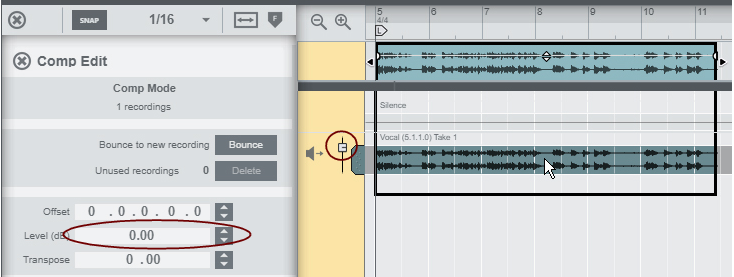
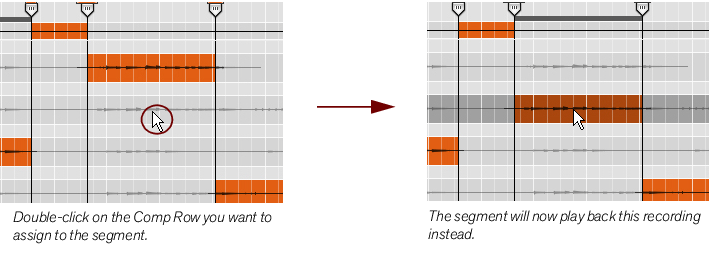
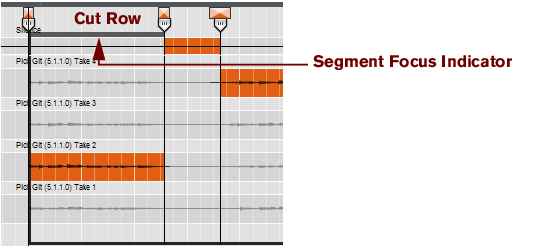
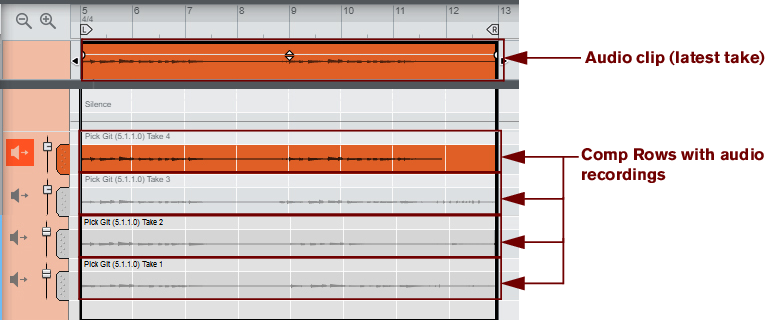
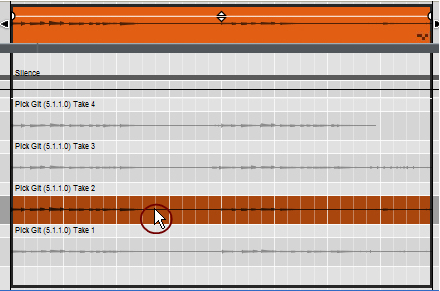
Depending on how you recorded the audio clip, there can be one or several Comp Rows, containing one audio recording each. Comp Rows can be described as “virtual tracks” in the sense that you can have many parallel Comp Rows in an audio clip but only play back from one Comp Row at a time (see “Creating a comped audio clip”). In Single Take clips, only the audio recording on the currently selected Comp Row will play back.
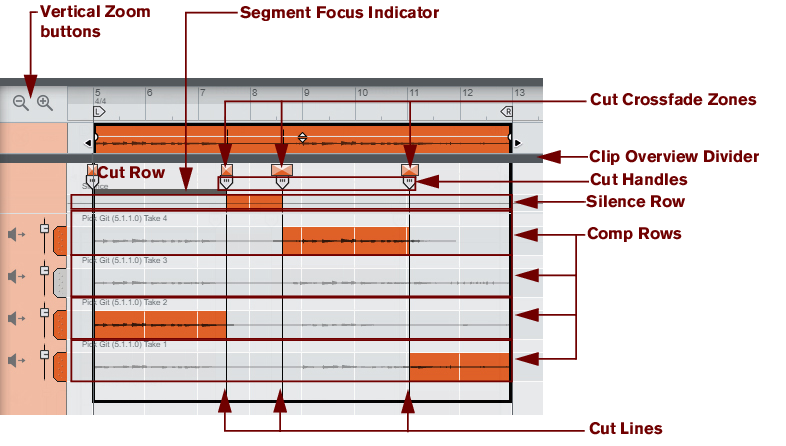
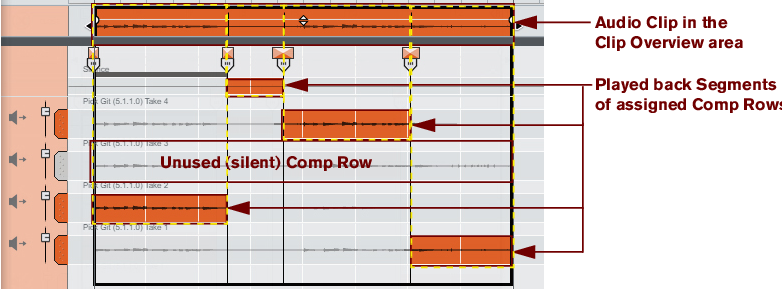
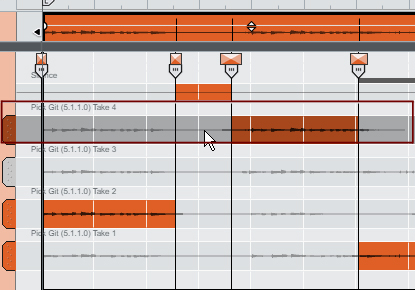
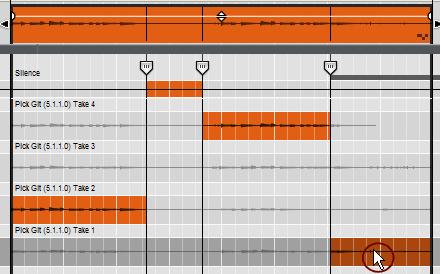
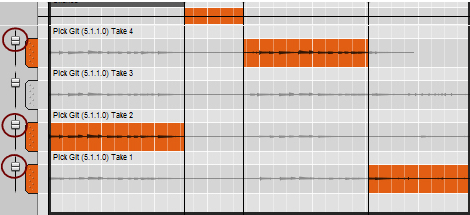
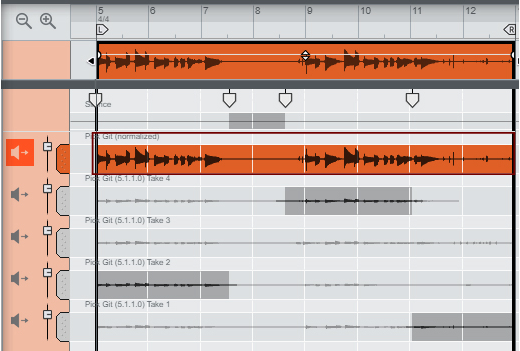
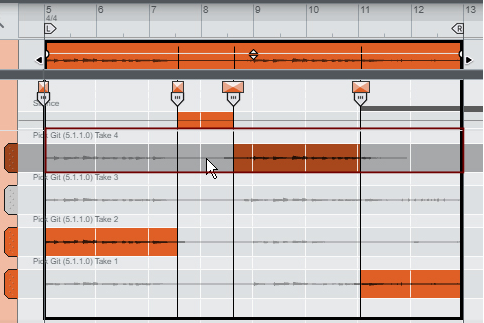
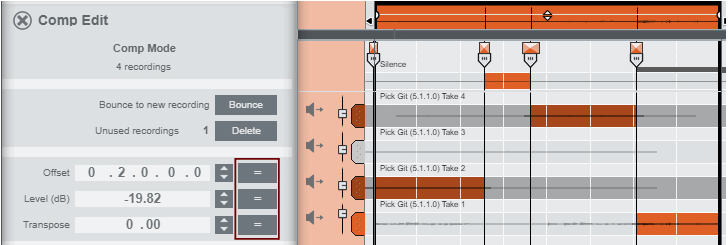
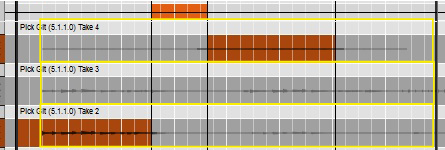
A Comp clip consists of several Comp Rows, with one recording on each Comp Row. If you have recorded several takes in an audio clip and want to cut out sections of the various takes and comp into a final clip, this can be done in the Comp Editor (see “Creating a comped audio clip”). This is how an already comped audio clip could look like in Comp Edit mode:
|
•
|
|
•
|
|
|
|
|
|
•
|
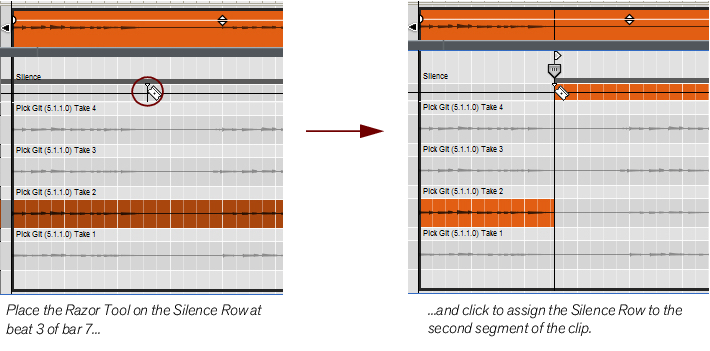
See “Adding Cuts” for more details on how to use the Cut Tool.
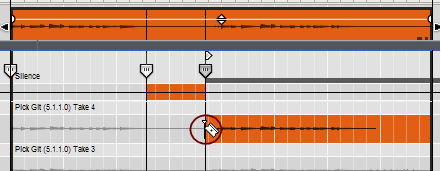
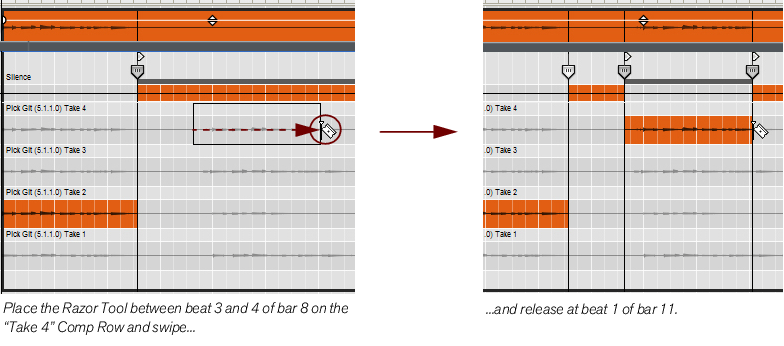
The Razor Tool can also be used for assigning a complete Segment, with a start and end Cut, by clicking and dragging (swiping) the Razor Tool horizontally on the desired Comp Row. See “Adding Segments” for more details on how to swipe with the Cut Tool.
|
|
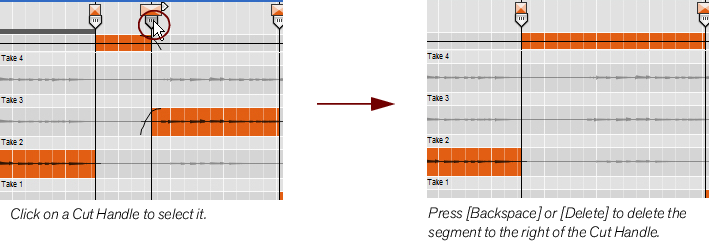
Select one or several Comp Rows (see “Selecting Comp Rows”) and then press [Backspace] or [Delete], or select “Delete” from the Edit menu or context menu.
|
|
|
|
|
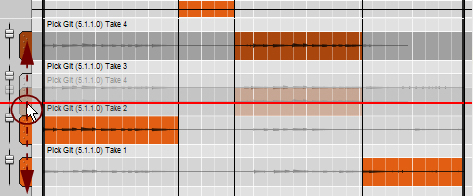
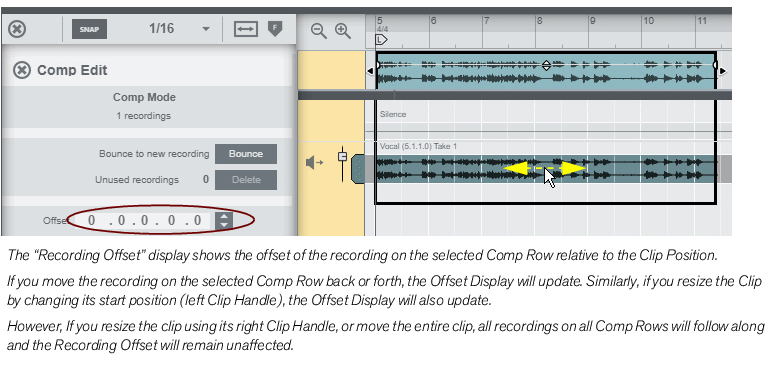
Duplicating Comp Rows can be useful if you want to re-use the same part of a take several times in a comped clip. Duplicate the Comp Row and then adjust the Recording Offset (see “Adjusting the Recording Offset”) in the duplicated Comp Row to access the same part of the recording in another segment of the comped clip. Duplicating Comp Rows will not use up any more space on your hard disk, so you can do this as many times as you like.
In this section we will describe procedures that are specific to audio editing in Comp clips. At the end of this section is a detailed example on how to use the various procedures to create a complete comped audio clip - see “Creating a comped audio clip”. General audio editing procedures are described in “Editing audio in the Comp Editor”.
|
|
|
•
|
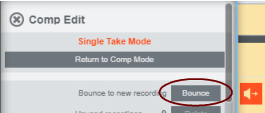
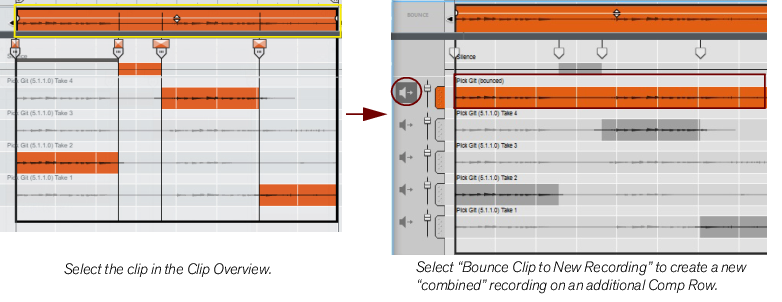
If you’re happy with the result and don’t plan to edit the clip any further, you can use the “Delete Unused Recordings” function to delete the recordings on the original Comp Rows and reduce the file size (see “Delete Unused Recordings”). If file size is not an issue, you can keep the original takes in the clip. This way you can switch to Comp Mode at any time if you need to edit the comp.
|
|
If you have recorded more than one loop cycle of audio in Loop Mode (see “Recording audio in Loop mode”), or recorded over or into an existing audio clip (see “Recording over or into an existing audio clip”), each recording has been placed on a separate Comp Row. If you like, you can now select the best parts (segments) of the recordings on the various Comp Rows and create a final “comped” audio clip. All editing described below is non-destructive and can be changed at any time:
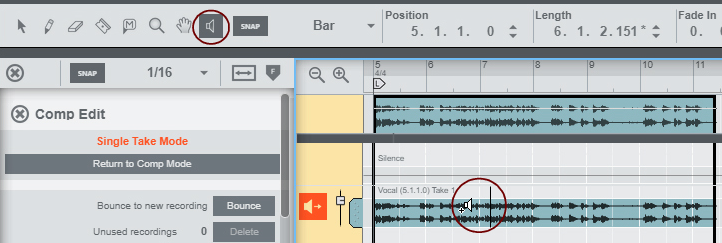
Audition the recordings on the Comp Rows to decide which recordings to use at what position in the comped clip. Select the Speaker Tool and click-hold at desired positions on the different Comp Rows (see “Speaker Tool” for details).
|
|
|
|
The clip is then also automatically set to Single Take mode, which makes it possible to edit the clip in Slice Edit mode, where you can stretch and quantize the audio etc. (see “Editing audio in Slice Edit mode”), or in Vocal Edit mode, where you can correct and edit the pitches of monophonic audio recordings (see “Editing audio in Vocal Edit mode”).
|
•
|
The Audio Clips are bounced to new Song Samples and named according to the Audio Clip name (if the clip was named) or according to the Audio Track name with serial numbers. The bounced Audio Clips then end up as sample files in the Song Samples location in the Browser. Refer to “Sampling” for more details about sampling and sample editing.
The “Bounce > Bounce Clip to Disk” function on the Edit menu and clip context menu allows you to export the audio of a selected clip to disk as a single WAV or AIFF file. This might be useful if you want to process an audio clip in an external application and then re-import the clip to the track again. See “Bouncing Audio Clips” for more details.
|
|
|
|
|
•
|
|
•
|
|
|
|
|
See “Inspector segment displays” for details on how to edit in the Inspector displays.
For Cut Handles, only Crossfade values can be matched - not the Positions. See “Matching audio values using the "Match Values" function”.


