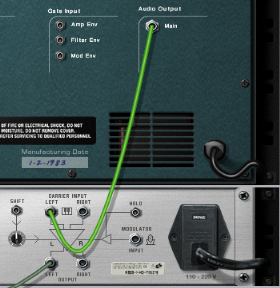
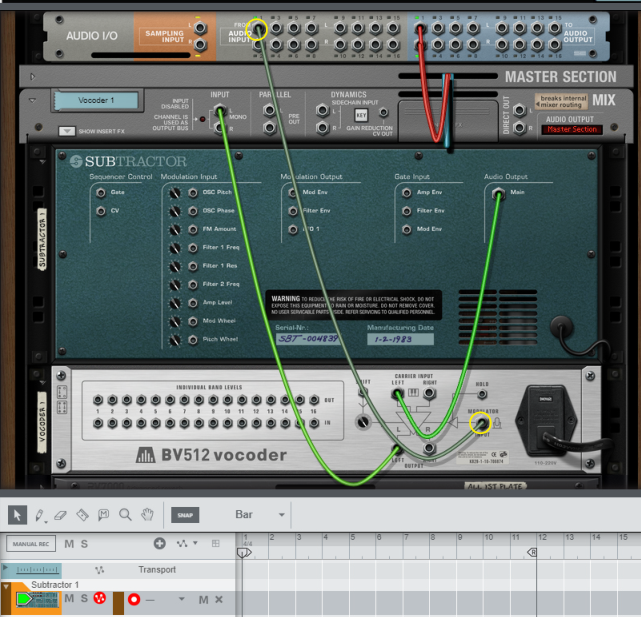
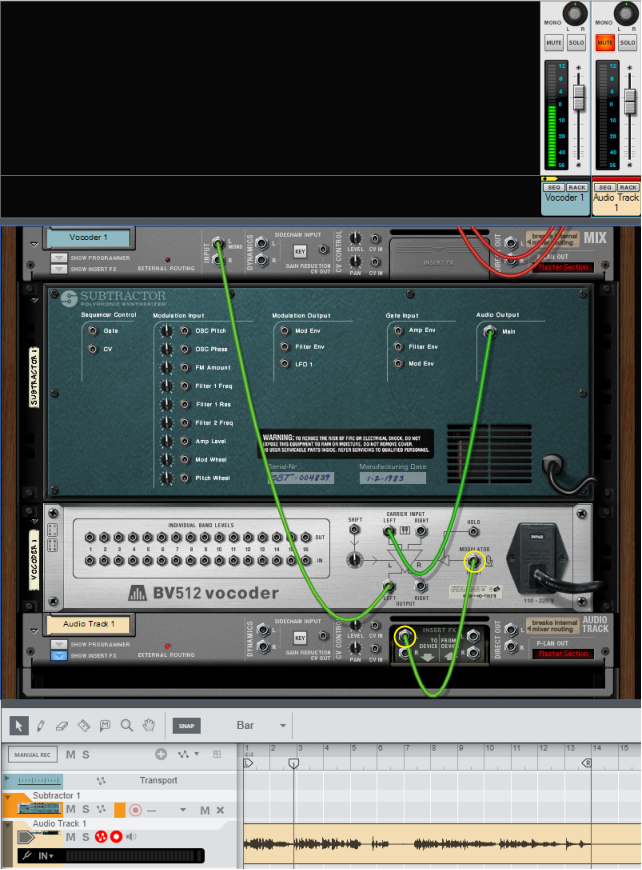
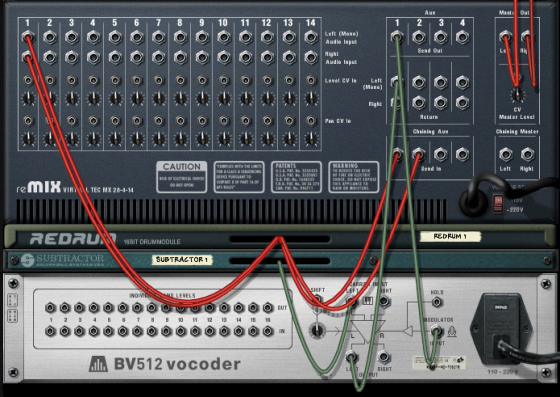
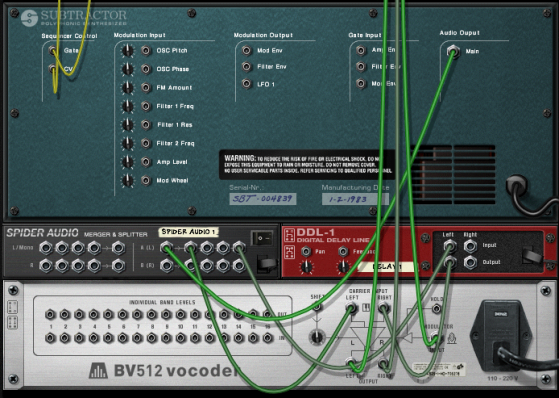
This tutorial describes how to connect and use a typical vocoder setup. We assume here that you have a MIDI keyboard connected. For details on the parameters, see “BV512 parameters”.
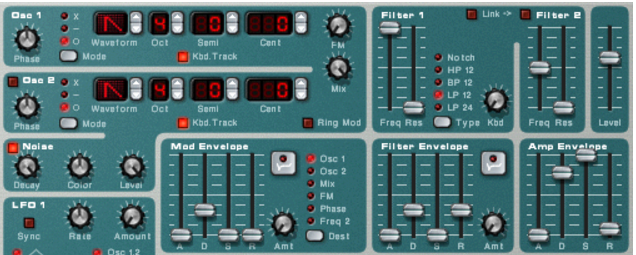
It’s important to have high frequencies (a lot of harmonics) in the carrier. On the Subtractor, a simple but effective carrier sound would be based on a sawtooth wave, with the filter fairly open. For more about choosing carrier sounds, see “Choosing a carrier sound”.
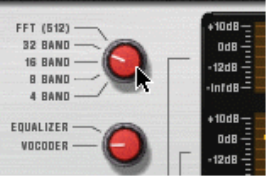
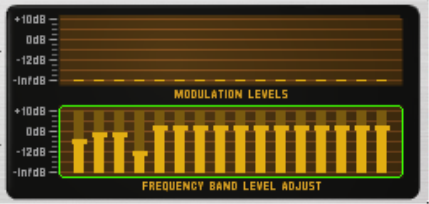
See “BV512 parameters” for details.
Refer to “Recording audio from Mix Channel outputs” for more details on how to record Mix Channel outputs.
|
|||
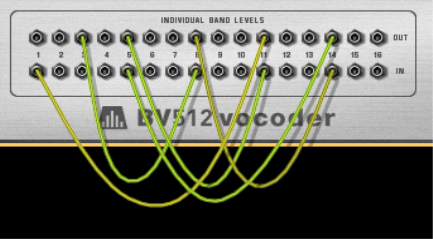
There are several interesting uses for the Individual band levels connectors: you can cross-patch frequency bands so that e.g. low frequencies in the modulator signal controls high frequency bands in the vocoder, you can extract CV signals for controlling synth parameters in other devices, you can base the vocoding on CV signals from other devices rather than on a modulator signal, etc. See “Using the individual band level connections” for details.
|
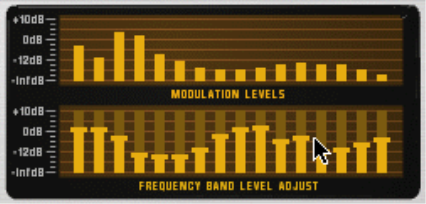
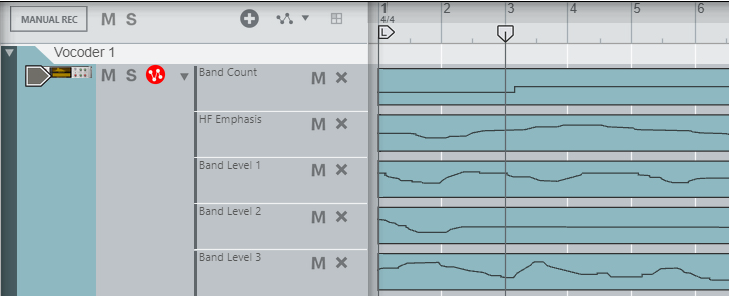
As described in “Hold button”, pressing the Hold button on the front panel “freezes” the current filter spectrum until you deactivate it again. This can be used for creating sample & hold-like effects, stuttering or garbled vocoder sounds:
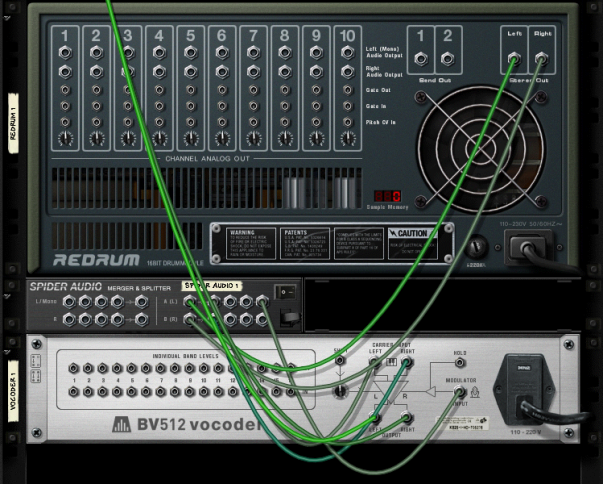
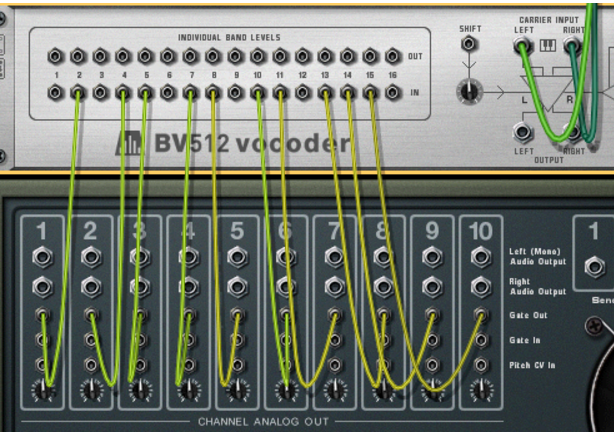
As described in “Individual band levels”, the individual band level connectors on the back are CV output and input jacks. The upper row sends out the CV signals from the envelope followers for the different frequency bands, while the lower jacks are CV inputs for controlling the individual bandpass filters (breaking the internal connection from the envelope followers). There are several interesting things you can do with these connections:
|
•
|

