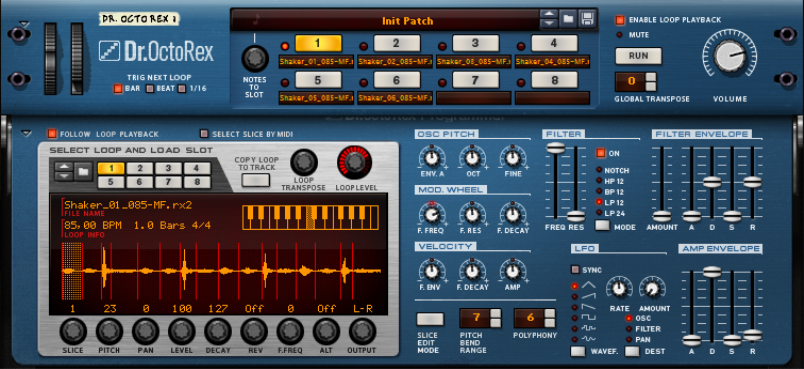
The Dr. Octo Rex Loop Player is capable of playing back and manipulating files created in ReCycle, another product created by Reason Studios, or bounced from open Single Take audio clips in Reason (see “Bounce Clip to REX Loop”). ReCycle is a program designed especially for working with sampled loops. By “slicing” an audio loop and making separate samples of each beat, ReCycle makes it possible to change the tempo of loops without affecting the pitch and to edit the loop as if it was built up of individual sounds.
This is the ReCycle file format for both Mac and PC platforms generated internally in Reason (see “Bounce Clip to REX Loop”) or by ReCycle version 2.0. One of the differences between the original REX format and REX2, is that the REX2 format supports stereo files.
Refer to “Pattern automation recording details” for details about Pattern Automation.
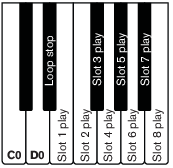
It’s also possible to control playback, stop and Loop Slot selection in real-time by pressing different keys on a MIDI keyboard. By pressing the keys E0 to B0 you select Loop Slot 1-8 and start playback of the corresponding loop. The loop(s) will play back continuously, one loop at a time, until you press the D#0 key to stop playback, or click the Run button or Stop in the main sequencer. The time between key press and Loop Slot switching is determined by the Trig Next Loop function, see “The Trig Next Loop function”.
|
•
|
|
1.
|
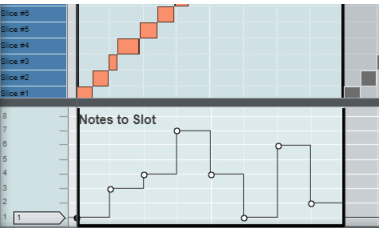
In addition to the created notes, the Note To Slot parameter (see “Note To Slot”) is copied into the clips as a Performance Controller. This way, Dr. Octo Rex will always know which Note Slot the generated notes originated from and will thus automatically play back the loop slices from the correct Loop Slot.
|
|
|
|
|
•
|
You can use the Alter Notes function (see “Alter (Note pitches)”) to scramble the loop notes - without destroying the original loop timing.
|
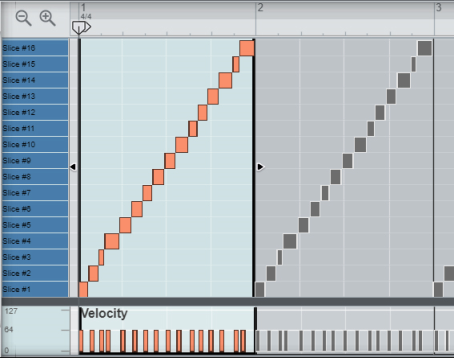
Here you can edit the notes that play the slices. There is a special REX edit lane for editing REX slice notes, with the notes indicated by the slice numbers instead of by pitches. Editing notes in the sequencer is described in the “Note and Automation Editing” chapter.
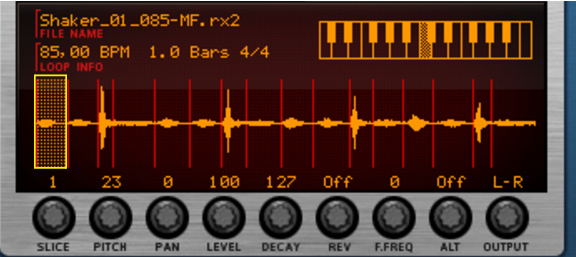
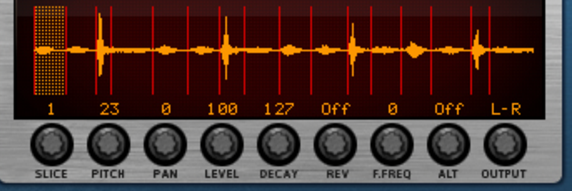
Here you are able to edit several parameters for each slice, by first selecting the slice and then using the knobs below the waveform display. If you want to edit a single parameter for several slices at once, a more convenient way would be to use the Slice Edit Mode, see “The Slice Edit Mode”. The following slice parameters can be set:
The Pitch bend range and Mod destination parameters are set on the synth parameter panel, see “Pitch Bend Range” and “Mod. Wheel”.
The Trig Next Loop parameter determines the timing when switching between Loop Slots See “The Trig Next Loop function”.
The eight Loop Slot buttons are located in the center of the front panel. You can load one REX loop per Slot. Loading REX loops are done from the Loop Editor panel, see “Select Loop & Load Slot”.
|
|
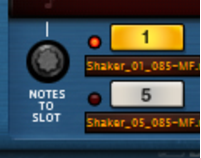
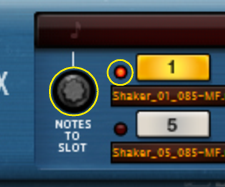
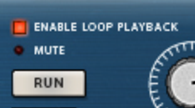
Note that selecting a Loop Slot only selects the corresponding REX loop for playback using the Run function (see “Enable Loop Playback and Run”) or Play from the main sequencer. Which Loop Slot the master keyboard or sequencer notes control is defined with the Note To Slot button, see “Note To Slot”.
|
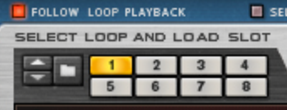
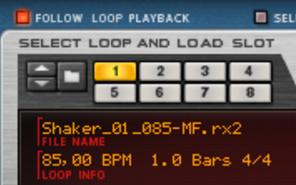
Refer to “Adding Loops” for info on how to load REX files and to “Editing in the Waveform Display” for info about editing the REX loop.
|
|
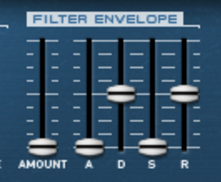
This parameter determines to what degree the overall pitch of all the REX files will be affected by the Filter Envelope (see “Filter Envelope”). You can set negative or positive values here, which determines whether the envelope curve should raise or lower the pitch.
|
|
#Mode
|
•
|
|
|
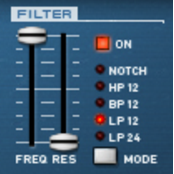
Note that the Filter Frequency parameter is usually controlled by the Filter Envelope (see “Filter Envelope”) as well. Changing the Filter Frequency with the Freq slider may therefore not produce the expected result.
|
|
|
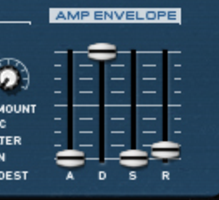
Please refer to “Envelopes - General” in the Subtractor chapter for a description of the basic envelope parameters.
|
|
| Waveform
|
|
#Sync
#Rate
On the rear panel of Dr. Octo Rex you will find the connectors. The left part of the panel houses a number of CV/Gate inputs and outputs. Using CV/Gate is described in “Routing Audio and CV”.
|
•
|
