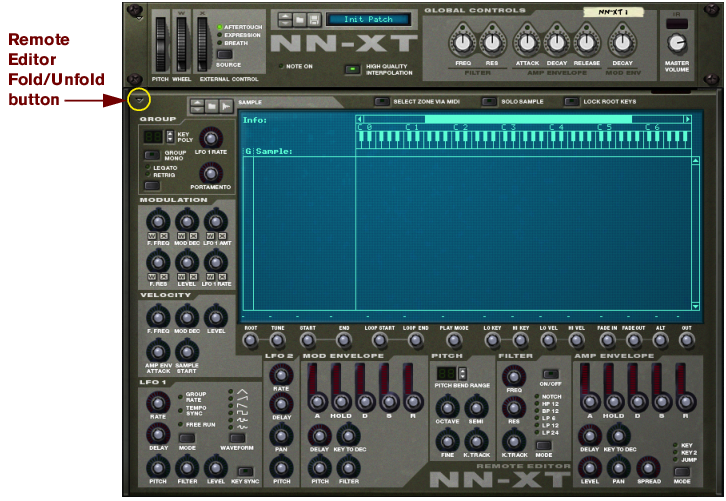
The basic functions of the NN-XT are very similar to those of its sampler companion in the Reason rack - the NN-19 (see “NN-19 Sampler”). Just like the NN-19, NN-XT lets you load samples and create multi-sample patches by mapping samples across the keyboard. The sound can then be modified by a comprehensive set of synth-type parameters. There are however some major differences between the two. The NN-XT has:
Presets and samples from SoundFont banks can be loaded and used in the NN-XT (see “Loading SoundFonts”).
This makes it possible to route different samples to different mixer channels for individual effect processing (see “Out”).
The sampling procedure is generic for all devices that can sample (NN-19, NN-XT, Redrum and Kong). The sampling and sample editing procedures are described in detail in the “Sampling” chapter.
Refer to the “Sampling” chapter for details on how to set up and use the sampling feature.
For general instructions on how to load and save patches, please see “Loading patches” and “Saving patches”.
You can load SoundFont presets by using the patch browser, and single SoundFont samples by using the sample browser.
REX files are music loops created in the ReCycle program or when editing audio clips inline in Reason (see “Bounce Clip to REX Loop”). In Reason, REX files are primarily used in the Dr. Octo Rex loop player, but they can be used in the NN-XT as well. Possible extensions are “.rx2”, “.rcy” and “.rex”.
All of the controls on the main panel are used for globally modifying certain parameters for all of the samples in a patch, by the same amount.
|
•
|
|
•
|
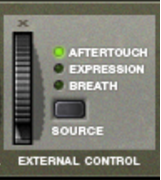
If your MIDI keyboard is capable of sending aftertouch messages, and/or if you have connected an expression pedal or a breath controller to it, you can use these to modulate NN-XT parameters. Which parameters should be modulated is set in the remote editor panel (see “The Modulation controls”).
This is done just as with any other automation recording, see “Recording performance controller automation”.
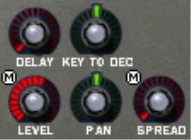
All of these knobs change the values of various parameters in the remote editor panel and affect all loaded samples. Thus they can be used for quickly adjusting the overall sound.
Again, the movements of these parameters can be recorded as automation. This is done just as with any other automation recording, see “Recording parameter automation”.
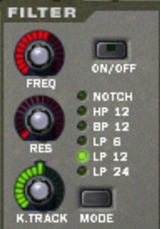
These two knobs each control a parameter of the filter (see “The Filter section”). Note that the filter must be on for these to have any effect.
This changes the resonance parameter of the filter, meaning - the filter characteristic, or quality.
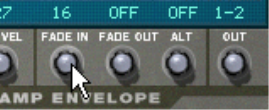
These three knobs control the Amplitude Envelope (see “The Amplitude Envelope”) in the following way:
|
•
|
|
•
|
This changes the Decay value of the Amplitude Envelope. Decay determines how long it should take for the sound to go back to the sustain level after it has reached full value (see “The Amplitude Envelope”) and the key that triggered the sound is still being pressed.
|
•
|
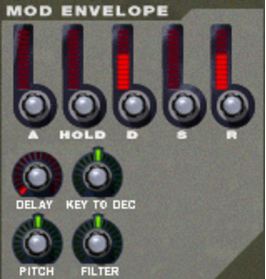
This knob controls the Decay value of the Modulation Envelope (see “The Modulation Envelope”). Also see above for a brief description of Decay.
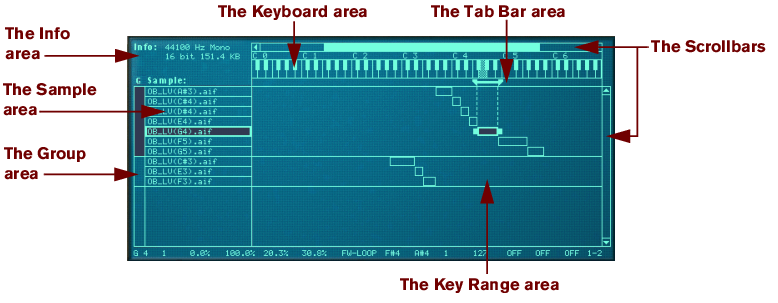
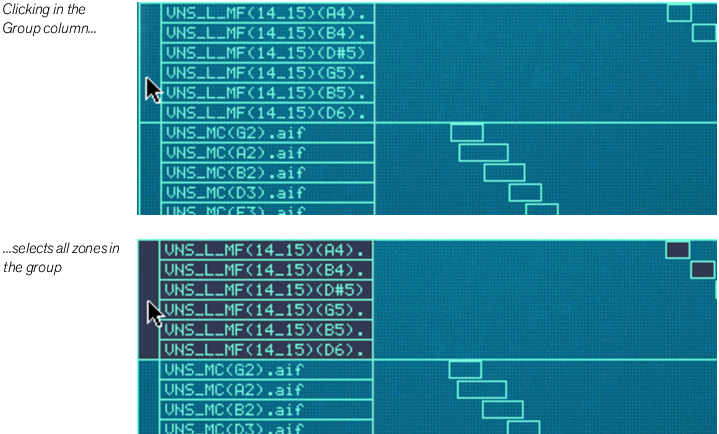
This area does not show any information. However, by clicking in it, you can instantly select all the zones that belong to a certain group. See “Working with Grouping” for information on how to create groups.
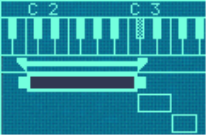
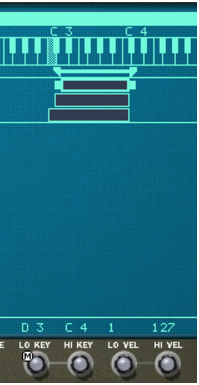
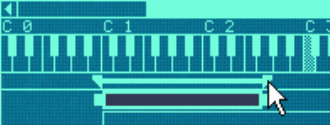
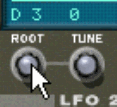
Aside from the fact that is a guideline for setting up key ranges, it is also used for setting the root keys of, and auditioning loaded samples. See “About the Root Key” and “Auditioning samples” respectively for more information.
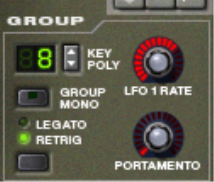
These parameters are adjusted on a per group basis (see “Group parameters” for more information on groups). Most of them relate to performance or playing style.
|
•
|
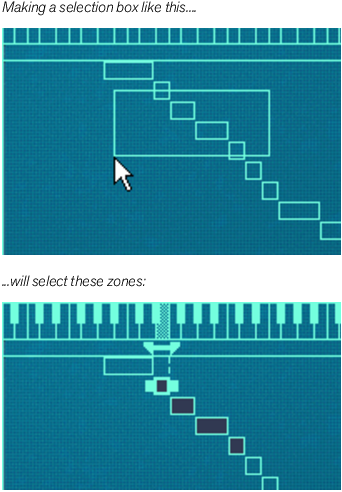
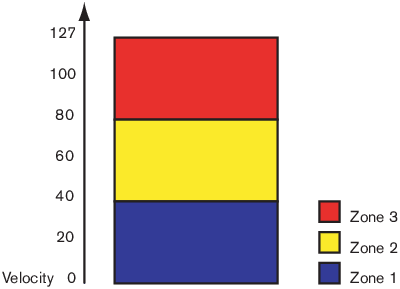
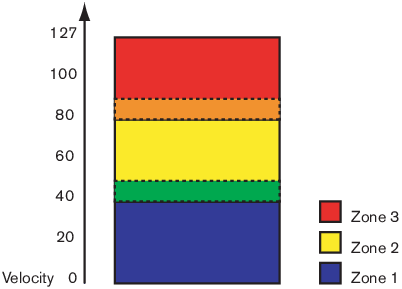
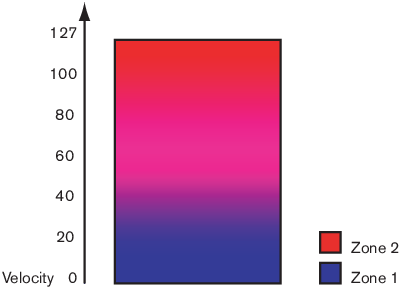
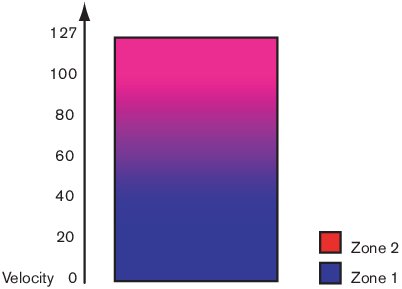
Note also, that selection via MIDI is velocity sensitive. Zones may have specific velocity ranges. This means that they won’t be played unless the key that triggers the zone is played with a certain velocity. The same rules apply when selecting via MIDI, only zones that meet the velocity criteria will be selected. Read more about setting up velocity ranges on “Setting velocity range for a Zone”.
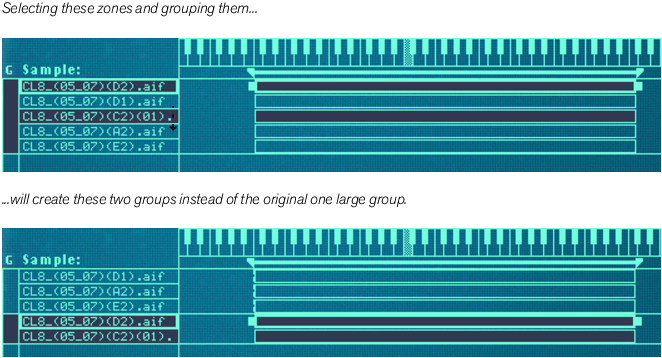
The concept of zone groups is fully introduced on “Working with Grouping”. For now we will only describe how to select all samples that belong to the same group:
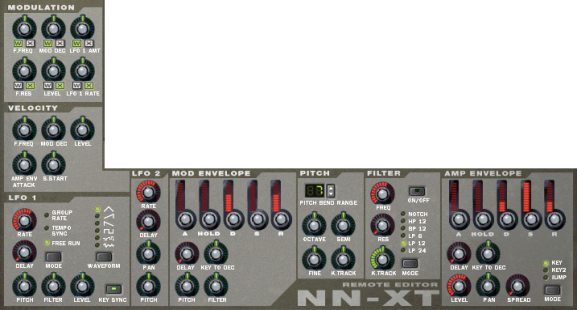
The synth parameters are the ones that occupy the bulk of the remote editor panel (see “Synth Parameters”). Changes you make to synth parameters always apply to all selected zones.
|
|
To set several zones to the same value, select them and adjust the parameter.
|
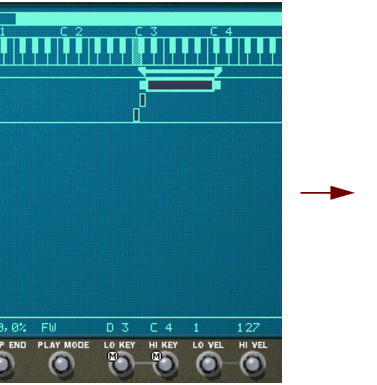
Whenever two or more selected zones have conflicting parameter settings, NN-XT will notify you about this by showing a small “M” (for multiple) symbol, next to the parameter.
|
|
|
3.
|
|
|
Observe that this only applies to the synth parameters (see “Synth parameters”). Sample parameters (root key, velocity range etc.) can not be copied.
|
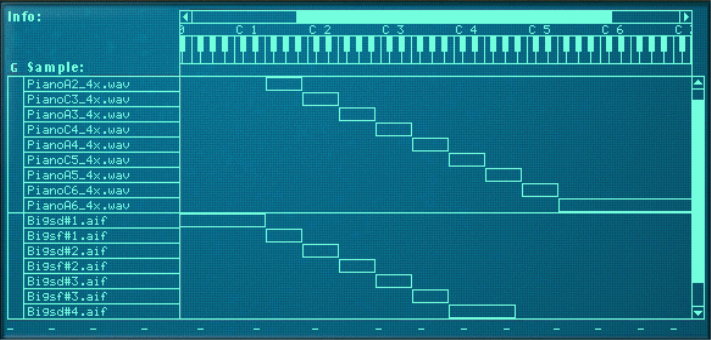
The next step after loading the samples is most likely to adjust the key range, root note and tuning of the samples, so that they play sensibly across the key range. There are many ways of doing this, described in “Working with Key Ranges” and onwards. However, we will here briefly describe a procedure for quickly creating a complete key map out of a set of loaded samples.
A slice is a snippet of sound in a REX File (see “Loading complete REX files as Patches”). To import a REX slice, browse to a REX file and open it as if it was a folder. The browser will then display the slices as files inside that “folder”. In the rest of this manual, when we refer to importing samples, all that is said applies to REX slices as well.
Clicking a sample will play it back at its root pitch (see “About the Root Key”). Furthermore, the sample will play back in its unprocessed state. That is, without any synth-parameters applied (see “Synth parameters”).
The difference here is that you will hear the sample at the pitch corresponding to the key you clicked and with any and all processing applied. The click mimics a key played with velocity 100. Also note that this may trigger several samples, depending on whether they are mapped across the same or overlapping key ranges, and the velocity range settings (see “Setting up Key Ranges” and “Setting velocity range for a Zone” respectively).
This is useful if you for example want to check how far up and down from its root key a sample can be played on the keyboard before starting to sound “unnatural”. The solo sample function can therefore be useful as a guide for setting up key ranges, as described in “Setting up Key Ranges”.
Note however, that the sorting is done strictly on a group basis. That is, only zones that belong to the same group can be sorted in relation to each other.
|
2.
|
Note however, that the sorting is done strictly on a group basis. That is, only zones that belong to the same group can be sorted in relation to each other.
|
•
|
|
•
|
|
•
|
|
•
|
|
•
|
#Alt
#Out
The NN-XT features eight separate stereo output pairs (see “Audio Output”). For each zone, you can decide which of these output pairs to use. Thus, if you have created a key map consisting of eight zones, each of these can have a separate stereo output from NN-XT, and can then be routed to a separate mixer channel if you so wish.
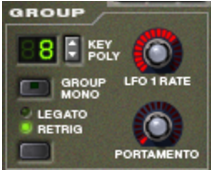
Users of other samplers may want to note that the polyphony often means setting the number of voices that should be able to play. The NN-XT is different in this aspect, since the polyphony setting instead determines the number of keys, regardless of how many voices each key plays.
Note that activating this button is not the same as setting polyphony to 1. E.g., it can not be used for Legato or mono Retrig (see “Legato and Retrig”).
|
|
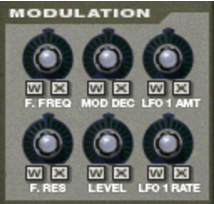
By turning the knobs, you decide how much the modulation and/or external control wheel should modulate the corresponding parameter.
|
|
•
|
This sets modulation control of the Decay parameter in the Modulation Envelope (see “The Modulation Envelope”).
This determines how much the amount of modulation from LFO 1 is affected by the Modulation wheel and/or the External Controller wheel. It does this by “scaling” the amounts set with the three destination knobs in the LFO 1 section (Pitch, Filter and Level, see “The LFOs”). We’ll explain this with an example:
To use the Modulation Wheel to increase pitch modulation (vibrato), proceed as follows:
To instead use the Modulation wheel to decrease vibrato, process as follows:
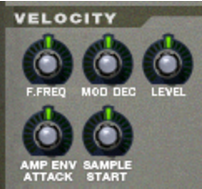
This sets velocity control of the Decay parameter in the Modulation Envelope (see “The Modulation Envelope”).
This sets velocity control of the Attack parameter in the Amplitude Envelope (see “The Amplitude Envelope”).
This sets velocity control of the Sample Start parameter (see “Sample Start and End”), so that it will be offset forwards or backwards, according to how hard or soft you play.
|
•
|
|
•
|
|
•
|
|
•
|
|
•
|
|
•
|
|
•
|
|
•
|
|
•
|
|
•
|
|
|
|
•
|
|
•
|
|
•
|
|
•
|
|
•
|
|
•
|
|
•
|
|
•
|
This works just like the Decay parameter, with the exception that it determines the time it takes for the value to fall back to zero after the key is released.
|
•
|
|
•
|
This will make the envelope modulate the pitch, as set in the Pitch section (see “The Pitch section”). Turn the knob to the right to raise the pitch and to the left to lower the pitch. In the middle position, pitch will not be affected by the envelope.
|
•
|
This will make the envelope modulate the cutoff frequency of the Filter (see “The Filter section”). Turn the knob to the right to increase the frequency and to the left to lower the frequency. In the middle position, the envelope will have no effect on the cutoff frequency.
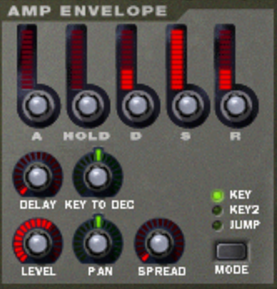
Most of the Amplitude Envelope parameters are identical to those of the Modulation Envelope. So for a detailed description of the following parameters, please refer to the modulation envelope section in “The Modulation Envelope”:
|
•
|
|
•
|
|
•
|
|
•
|
|
•
|
|
•
|
|
•
|
|
| Mode
|
|
|
•
|
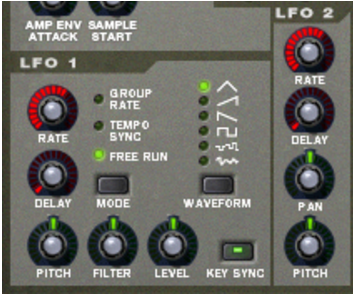
NN-XT features two Low Frequency Oscillators - LFO 1 and LFO 2. “Normal” oscillators generate a waveform and a frequency, and produce sound. Low frequency Oscillators on the other hand, also generate a waveform and a frequency, but there are two major differences:
In this mode, the LFO will run at the rate set for its group in the group section, rather than at the rate set here (see “Group parameters”). This way, all zones in the group will have the exact same modulation rate.
|
•
|
|
| Waveform
|
|
|
•
|
|
•
|
|
•
|
|
•
|
|
•
|
|
•
|
There are 16 audio output jacks on the NN-XT’s back panel - eight separate stereo pairs. When you create a new NN-XT device, the first output pair (1L & 2R) is auto-routed to the first available channel on the audio mixer.
