|
1.
|
|
4.
|
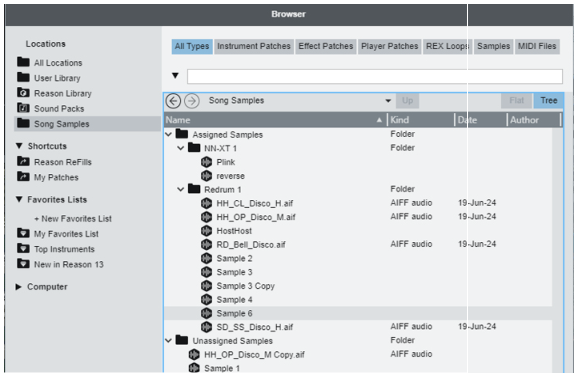
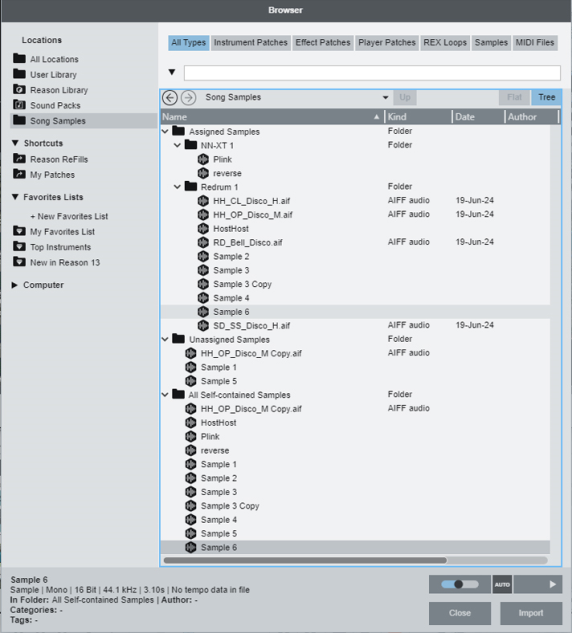
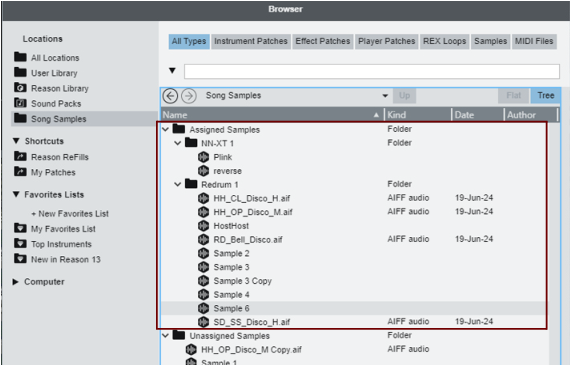
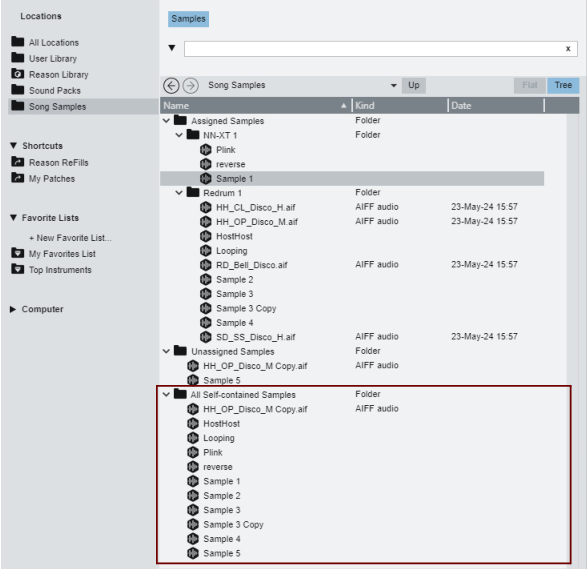
Here, all samples you use in your song are listed (see “The Song Samples location”). Here is also where you can open samples for editing (see “Editing samples”).
Here, all samples that are assigned to devices in the song are listed. All devices that contain assigned samples are listed as “sub-folders”. Each device “sub-folder” shows the samples currently assigned to it. See “Assigned Samples” for more details.
If you remove a sound you have sampled from a device, the sound is automatically moved from the Assigned Samples folder to the Unassigned Samples folder. From here you can load the sample into other devices if you like. See “Unassigned Samples” for more details.
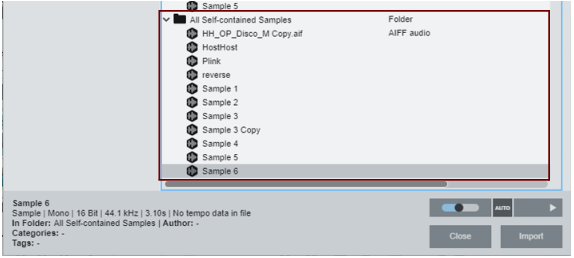
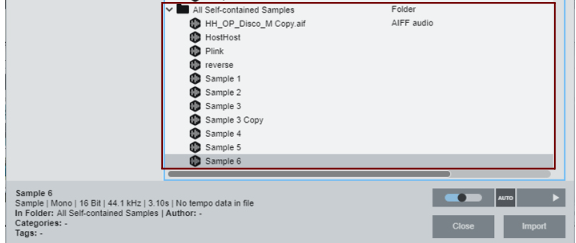
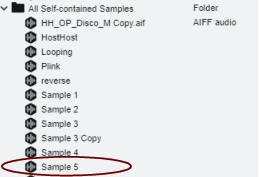
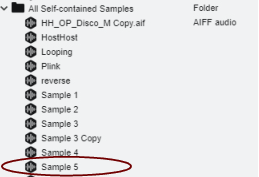
All sounds you have sampled yourself, plus any duplicated samples from the Factory Soundbank and/or ReFills, automatically becomes self-contained and are always stored with the song. These samples are listed in the All Self-contained Samples folder. See “About self-contained samples” for more details.
Select this to open the sample for editing in the Edit Sample window (see “The Edit Sample window”). If several samples are selected, this item is grayed out.
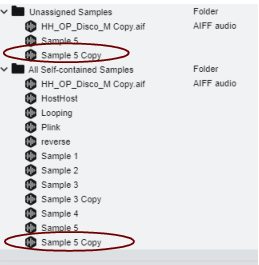
Select this to create a duplicate of the selected sample. The duplicated sample is placed in the All Self-contained Samples and Unassigned Samples folders. Several selected samples can be duplicated in one go. See “Duplicating samples” for more details.
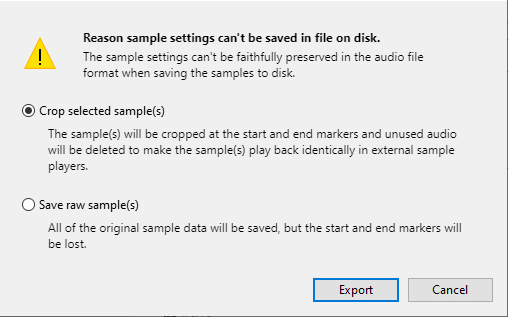
Select this to export the selected sample to disk. A dialog appears where you can select file format. Note that it is not possible to export samples from the Factory Soundbank or from ReFills. Several selected samples can be exported in one go. See “Exporting samples” for more details.
Select this to permanently delete the selected sample(s) from the song. Note that samples from the Factory Soundbank and from ReFills will not be deleted from their original locations - only from the song document. Several selected samples can be deleted in one go. See “Deleting samples from a song” for more details. Any samples you have recorded yourself will be permanently erased unless you have previously exported them to disk (see “Export Sample(s)” below).
See “Sampling procedure” for more details on how to sample.
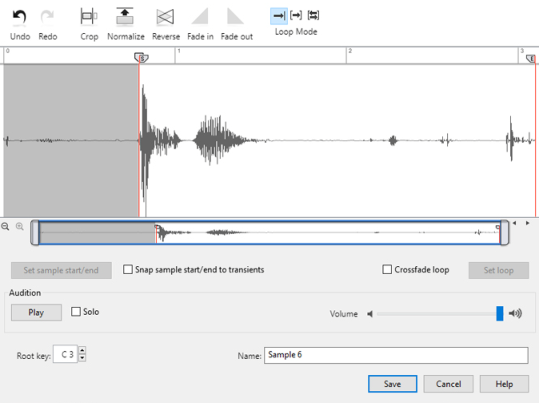
All sampling parameters and functions are controlled from one single window - the Edit Sample window. This window is used when you’re editing samples in any of the devices described above, See “Editing samples” for more details.
Whenever you sample in Reason, the resulting audio files are stored in WAV format. The sample rate is determined by the settings on the Audio tab in Preferences (see “Audio settings”). The resolution (bit depth) is fixed at 16 bits.
If you want to sample external audio, e.g. from a mic or an instrument connected to the audio hardware on your computer, make sure you have set up the desired audio input(s) on the Audio tab in Preferences, see “Active input and output channels”. Available audio inputs are indicated with yellow or green LEDs on the Hardware Interface in the rack:
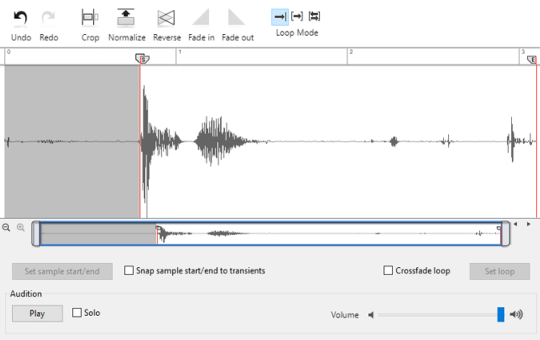
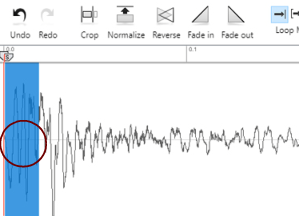
Click the Crop button to crop the sample so that only the content between the Start (S) and End (E) locators is preserved. The rest of the sample will be permanently deleted. See “Cropping samples” for more info.
Click the Normalize button to amplify the entire sample so that the loudest peak touches 0 dB. Note that the entire sample is normalized, regardless of any locator settings. See “Normalizing samples” for more info.
Click the Reverse button to reverse (play backward) the entire sample. Note that the entire sample is reversed, regardless of any locator settings. See “Reversing samples” for more info.
The Fade In and Fade Out buttons can be used to apply a fade in or fade out of the sample volume. See “Fading in/out samples” for more info.
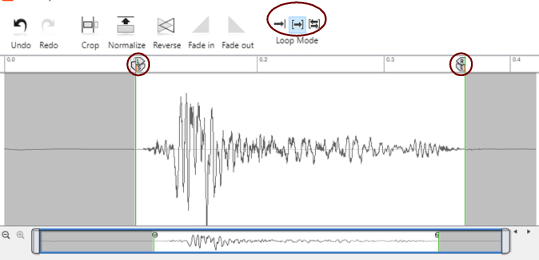
Click one of the Loop Mode buttons to select loop type. The default (leftmost) setting is “no loop”. Then follow “Loop Forward” and “Loop Forward + Backward”. See “Looping samples” for more info.
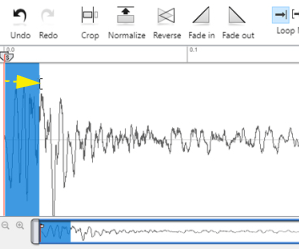
Below the waveform pane is the horizontal Waveform Navigator. This can be operated in the same way as the Song Navigator in the sequencer (see “Scrolling with the Navigators and scrollbars”, “Zooming horizontally in the Sequencer” and “Scrolling and zooming using a wheel mouse”).
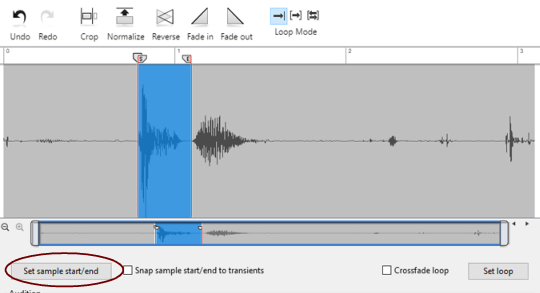
Set the desired sample playback region by clicking and dragging on the waveform pane. Then, click the Set Sample Start/End button to automatically place the Start and End locators at the beginning and end of the sample region. See “The Set Start/End function” for more info.
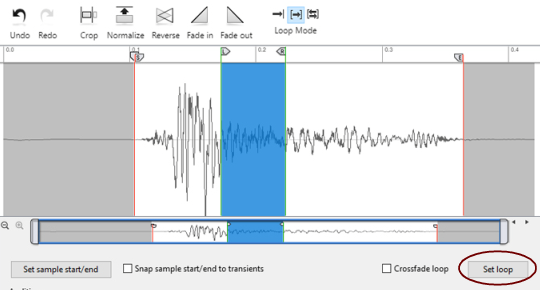
Tick the Crossfade Loop box to introduce a crossfade in the loop. Crossfade is useful to even out any clicks in the loop points, especially for sounds with fairly even volume throughout the loop region. See “The Crossfade Loop function” for more info.
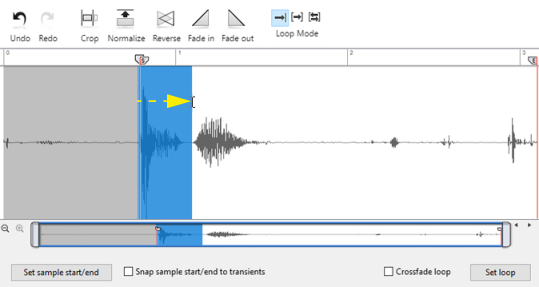
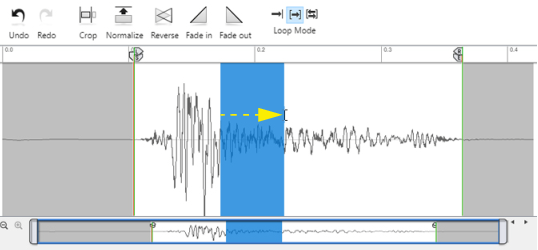
Set the desired loop region by clicking and dragging on the waveform pane. Then, click the Set Loop button to automatically place the Left and Right Loop locators at the beginning and end of the loop region. See “The Set Loop function” for more info.
|
•
|
|
•
|
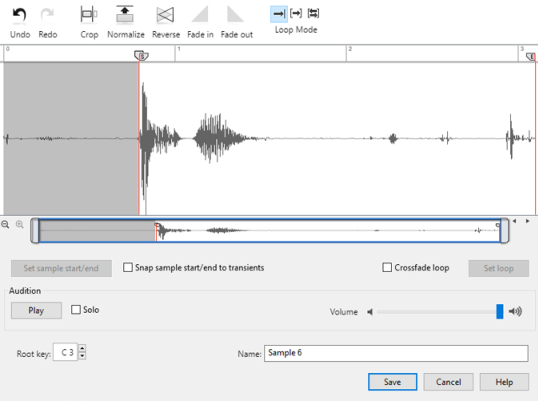
Type in desired name for your sample. Note that this will overwrite the original name of the sample in the Song Samples location in the Browser once you click Save. See “Renaming samples” for more info.
Click Save to save your sample. The sample will appear in the Song Samples location in the Browser. See “Saving edited samples” for more info.
|
3.
|
|
1.
|
|
1.
|
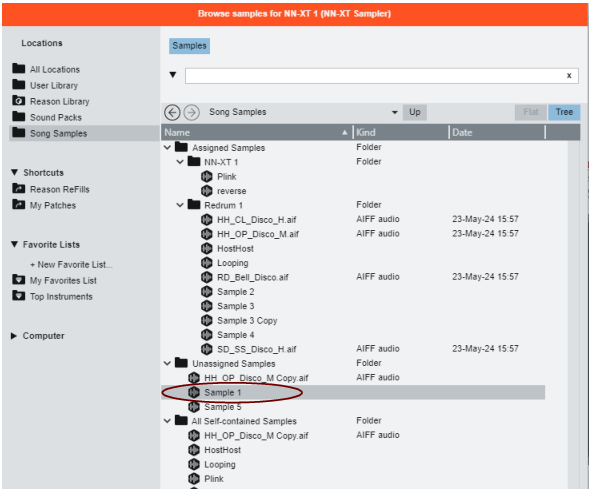
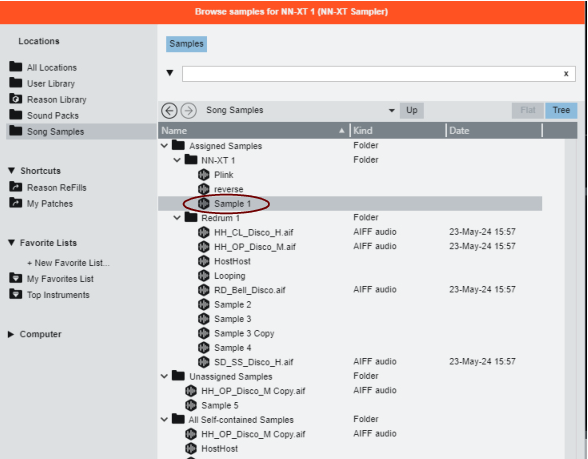
Unassigned samples can be assigned to any sampler device by simply loading them into a sampler device - see “Loading samples into a device”.
|
•
|
Self-contained samples can also be loaded into any sampler device from the Browser. See “Loading samples into a device” for more details.
There might be situations where you want to “un-self-contain” your own samples, i.e. export the samples to disk as separate files and at the same time remove them from the song document. This can be done by selecting “Song Self-Contain Settings...” from the File menu - see “About Self-Contained Songs” for more details.

