|
|
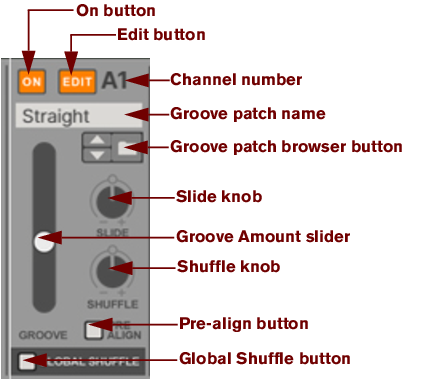
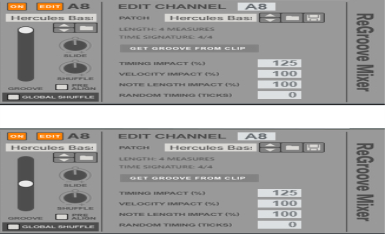
Click this button to select the channel for editing in the Groove Settings section to the far right, where you can view and edit additional “Groove Settings” for each channel.
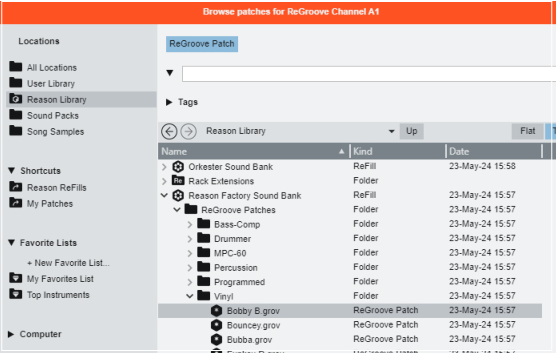
This allows you to load groove patches and to step between them, just like device patches in the Reason rack. ReGroove patches have a ‘.grov’ file extension. See “ReGroove patches in the Factory Sounds bank”, later in this chapter, to learn more about the types of groove patches included with Reason.
|
|
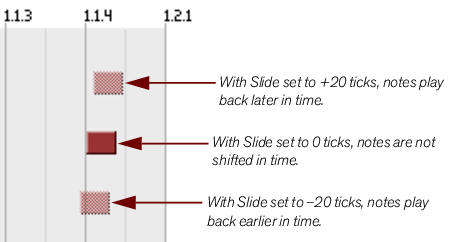
If you have a track that you want to rush (set to a negative slide value), you should put an empty bar at the beginning of your sequence, making sure to set the Anchor Point to “2” (see “Anchor Point”). This insures that any notes assigned to Bar 1/Beat 1 will indeed play ahead of the beat (since you created an empty measure into which the early note can shift).
|
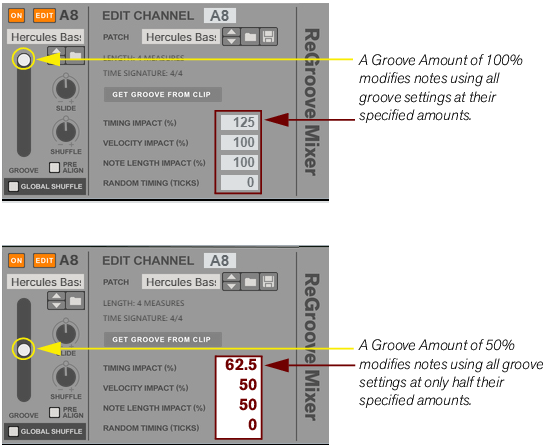
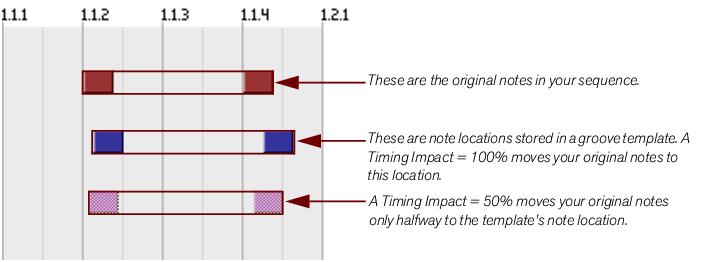
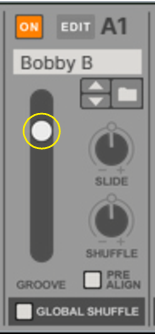
As discussed in “Groove Settings”, later in this chapter, several additional parameters are associated with groove patches and how they modify your notes. Specifically, the Groove Settings section contains four “impact” settings (timing, velocity, note length, and randomness), and the Groove Amount fader acts like a “master” fader that scales these four parameters proportionally.
These buttons allow you to load and/or save groove patches, just like device patches in the Reason rack. ReGroove patches have a ‘.grov’ extension. To learn more about the types of groove patches included with Reason, see “ReGroove patches in the Factory Sounds bank”.
This button converts the notes in a selected clip into a groove patch. The patch can then be used right away in the active ReGroove Mixer Channel or saved to disk as a new groove patch. Clicking this button has the same effect as selecting a clip and choosing “Get Groove From Clip” from the Edit (or context) menu. See “Creating your own ReGroove patches”.
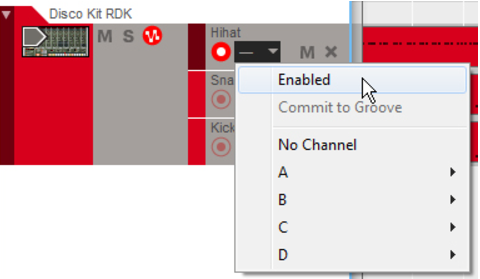
This is useful for comparing with the original, ungrooved beat. If you want to do this for several note lanes set to a particular ReGroove channel, use the “On” button for the channel in the ReGroove mixer instead (see “On Button”).
|
|
There are all sorts of creative and useful ways to apply grooves to your music. See “Groovy tips & tricks”, later in this chapter, for some suggested techniques.
|
To learn some of the characteristics of a good groove-making clip, see “Tips for selecting the best Groove-Making Clips” below.
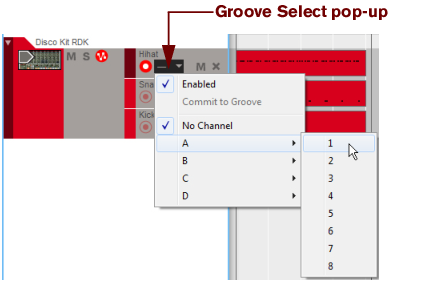
Your ReGroove patch is now ready to use. As discussed in “Applying grooves to your music”, simply route one or more note lanes to the ReGroove channel assigned to your new groove, and pull up the Groove Amount fader on that channel.
|
|
See “Extract Notes to Lanes” for tips on how to automatically distribute notes from one note lane to several additional note lanes.
|
|
•
|
As described under the “Anchor Point” heading above, grooves restart whenever a new time signature appears.
|


